BLOG
- HOME
- / Blog Main Page
- / Nature
Challenges associated with waterfowl photography - my first attempt
It is well known that attempting to photograph waterfowl can be very challenging. Being inspired the challenges, I decided to go out to Marievale in my first attempt to try out a new technique.
There are a number of factors that one needs to take into account and of course, planning the shoot is vitally important too. Knowing where to find waterfowl, their habits and the environmental conditions is key. Getting close enough to the water's edge without disturbing the birds is the biggest challenge of all.
It is important to get to the location and setup very early and preferably while it is still dark as any movement can easily scare off the waterfowl and sometimes after being scared off, they often do not return to that spot.
I used my Canon 1DXMiii with Canon 500mm lens with a 1.4 extender and my tripod with a gimble. Although this seemed like a good choice, it still needed some refinement. I will discuss some of the problems that I encountered with this setup later in the article.
Having been to Marievale on many occasions previously, I decided to head to a concrete culvert right next to the road and on the water's edge, as this would provide a nice surface on which to setup and to get close to the water.
Unfortunately as we are right in the middle of winter, the water levels had subsided substantially and the concrete slab was way too high above the water when I got to the spot So I decided to move to another location where I could get closer to the water's edge, but found that the mud was quite soft and this made it difficult to get close enough.
It was still dark and the temperature was at 0C. With the bank facing east to get some silhouetted rim lit images of the birds as the sun stared to rise, I thought that this was the ideal spot but, in the end, that turned out to be the wrong decision.
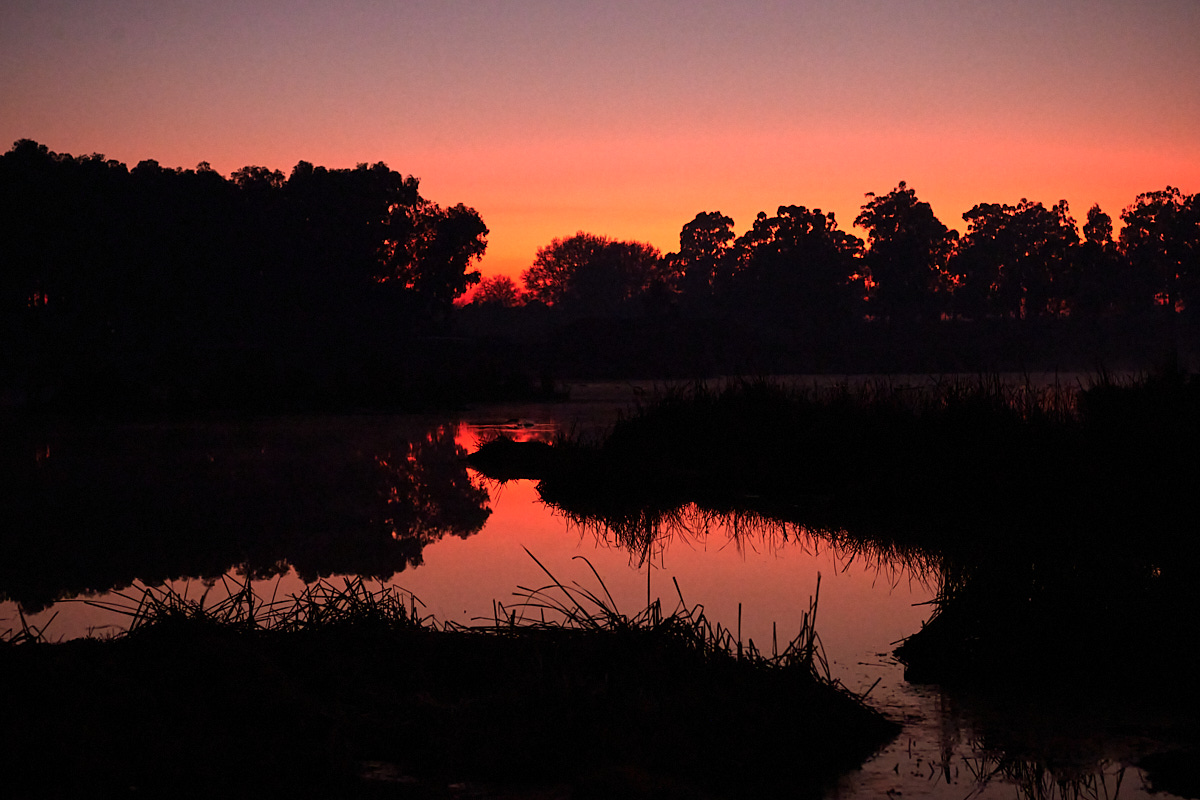
The sunrise was quite spectacular as I waited for the light to intensify before starting the photo shoot
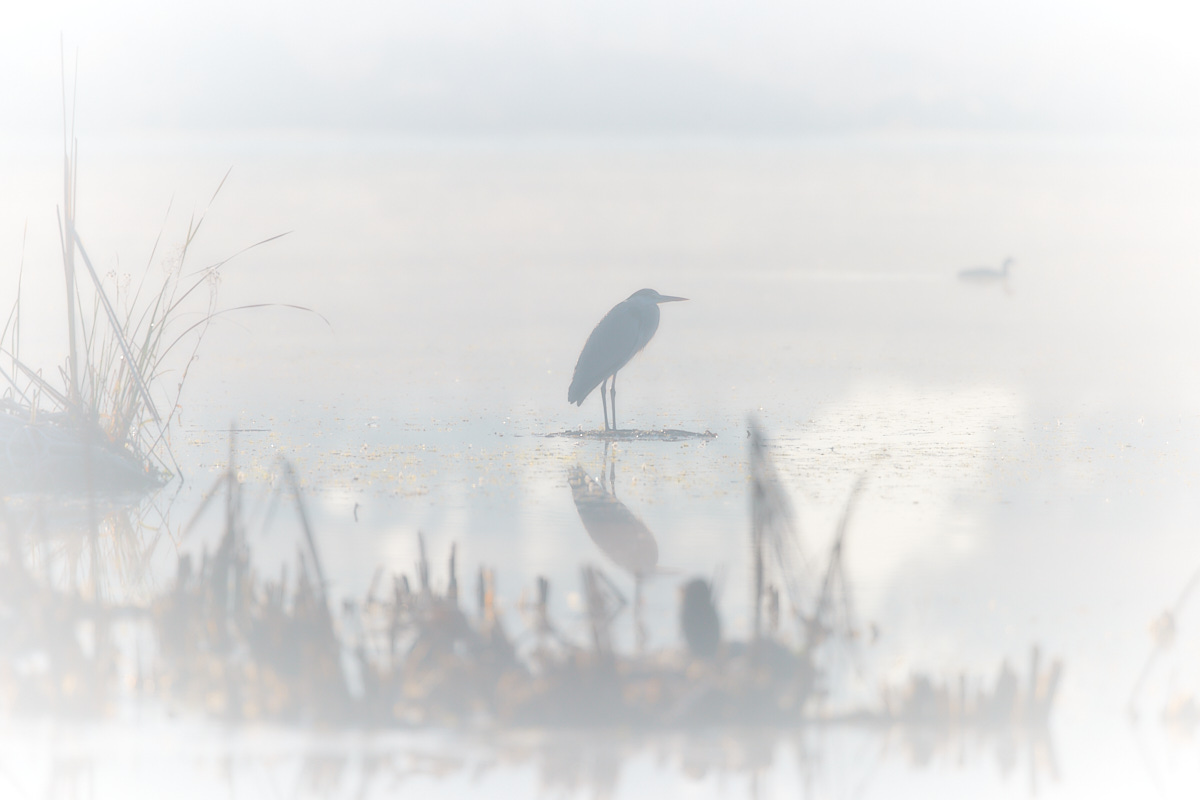
Once the sun started to rise, the morning mist unfortunately also came up due to the freezing temperatures and with the light behind the mist, it was impossible to get any decent images. I nevertheless took the opportunity to capture a moody image of this Heron standing freezing in the mist.
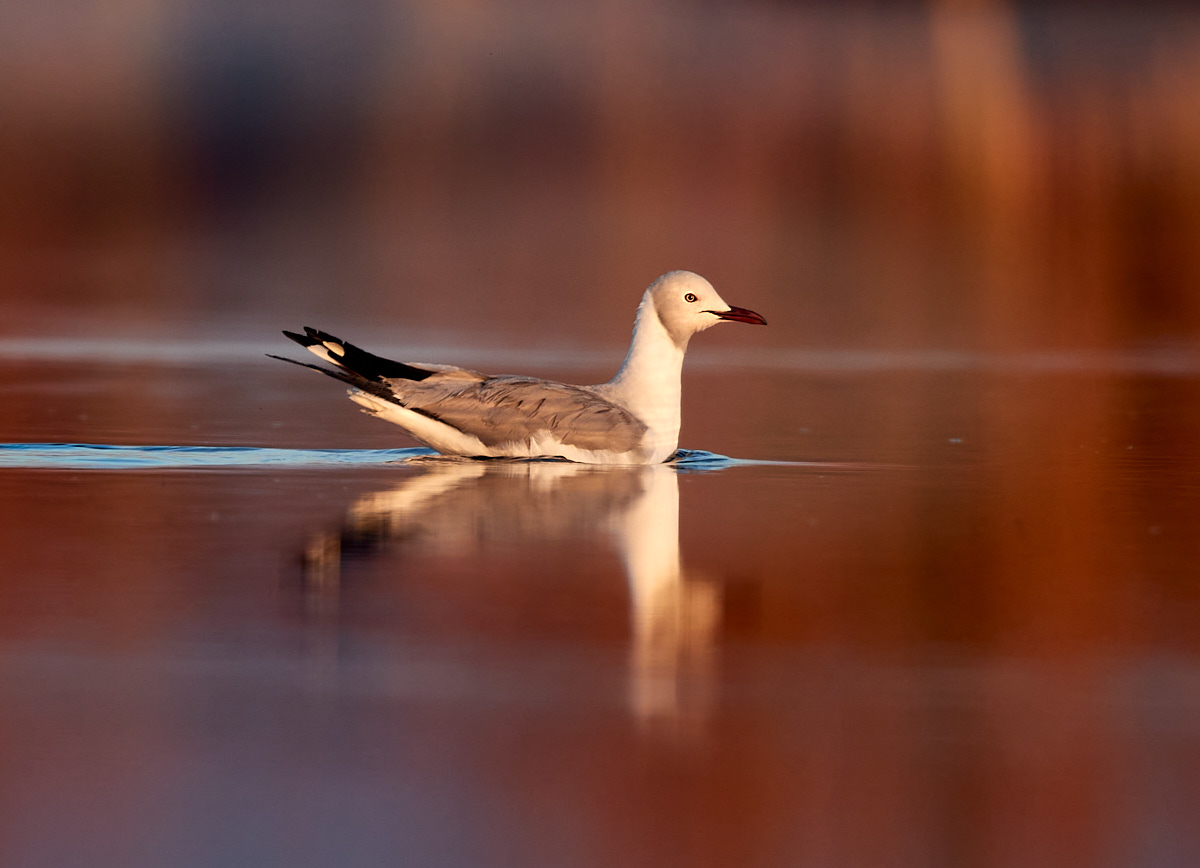
I quickly moved to the other side of the road where the sun was now behind me and this worked very well, especially with the beautiful orange glow of the breaking dawn on the opposite bank and reeds reflected beautifully in the water. The light was soft and did not blow out the whites of the waterfowl and the many gulls that were also present.
In low light, one needs to shoot with the aperture wide open to capture as much light as possible. My 500mm lens opens to F4 which is relatively wide open, but adding the extender takes it up to F5.6. It is a trade-off - either one needs to be very close to the subject which in the case of waterfowl is always a problem or one needs to have a very long lens ( the extender converts my 500mm lens to a 700mm focal length) but that restricts the amount of light that the lens can capture. Some photographers sacrifice their image quality with too high ISO settings in low light. I never allow my auto-ISO to go too high and I try to keep it at ISO 100 or in a worst case, no more than ISO 400 in poor light.
From my research, I had learnt that getting as low as possible to the water level and shooting at eye level with one's subject is critically important to capturing amazing images of waterfowl.
Having decided to take along my tripod with its legs that fold down quite low and using my gimble, I found that I was still a little too high at around 300 - 600mm above the water. I am told that 125 - 180mm is best, but in my case, unless I lay the camera on the ground which was not possible under the circumstances, I had to make do with what I had.
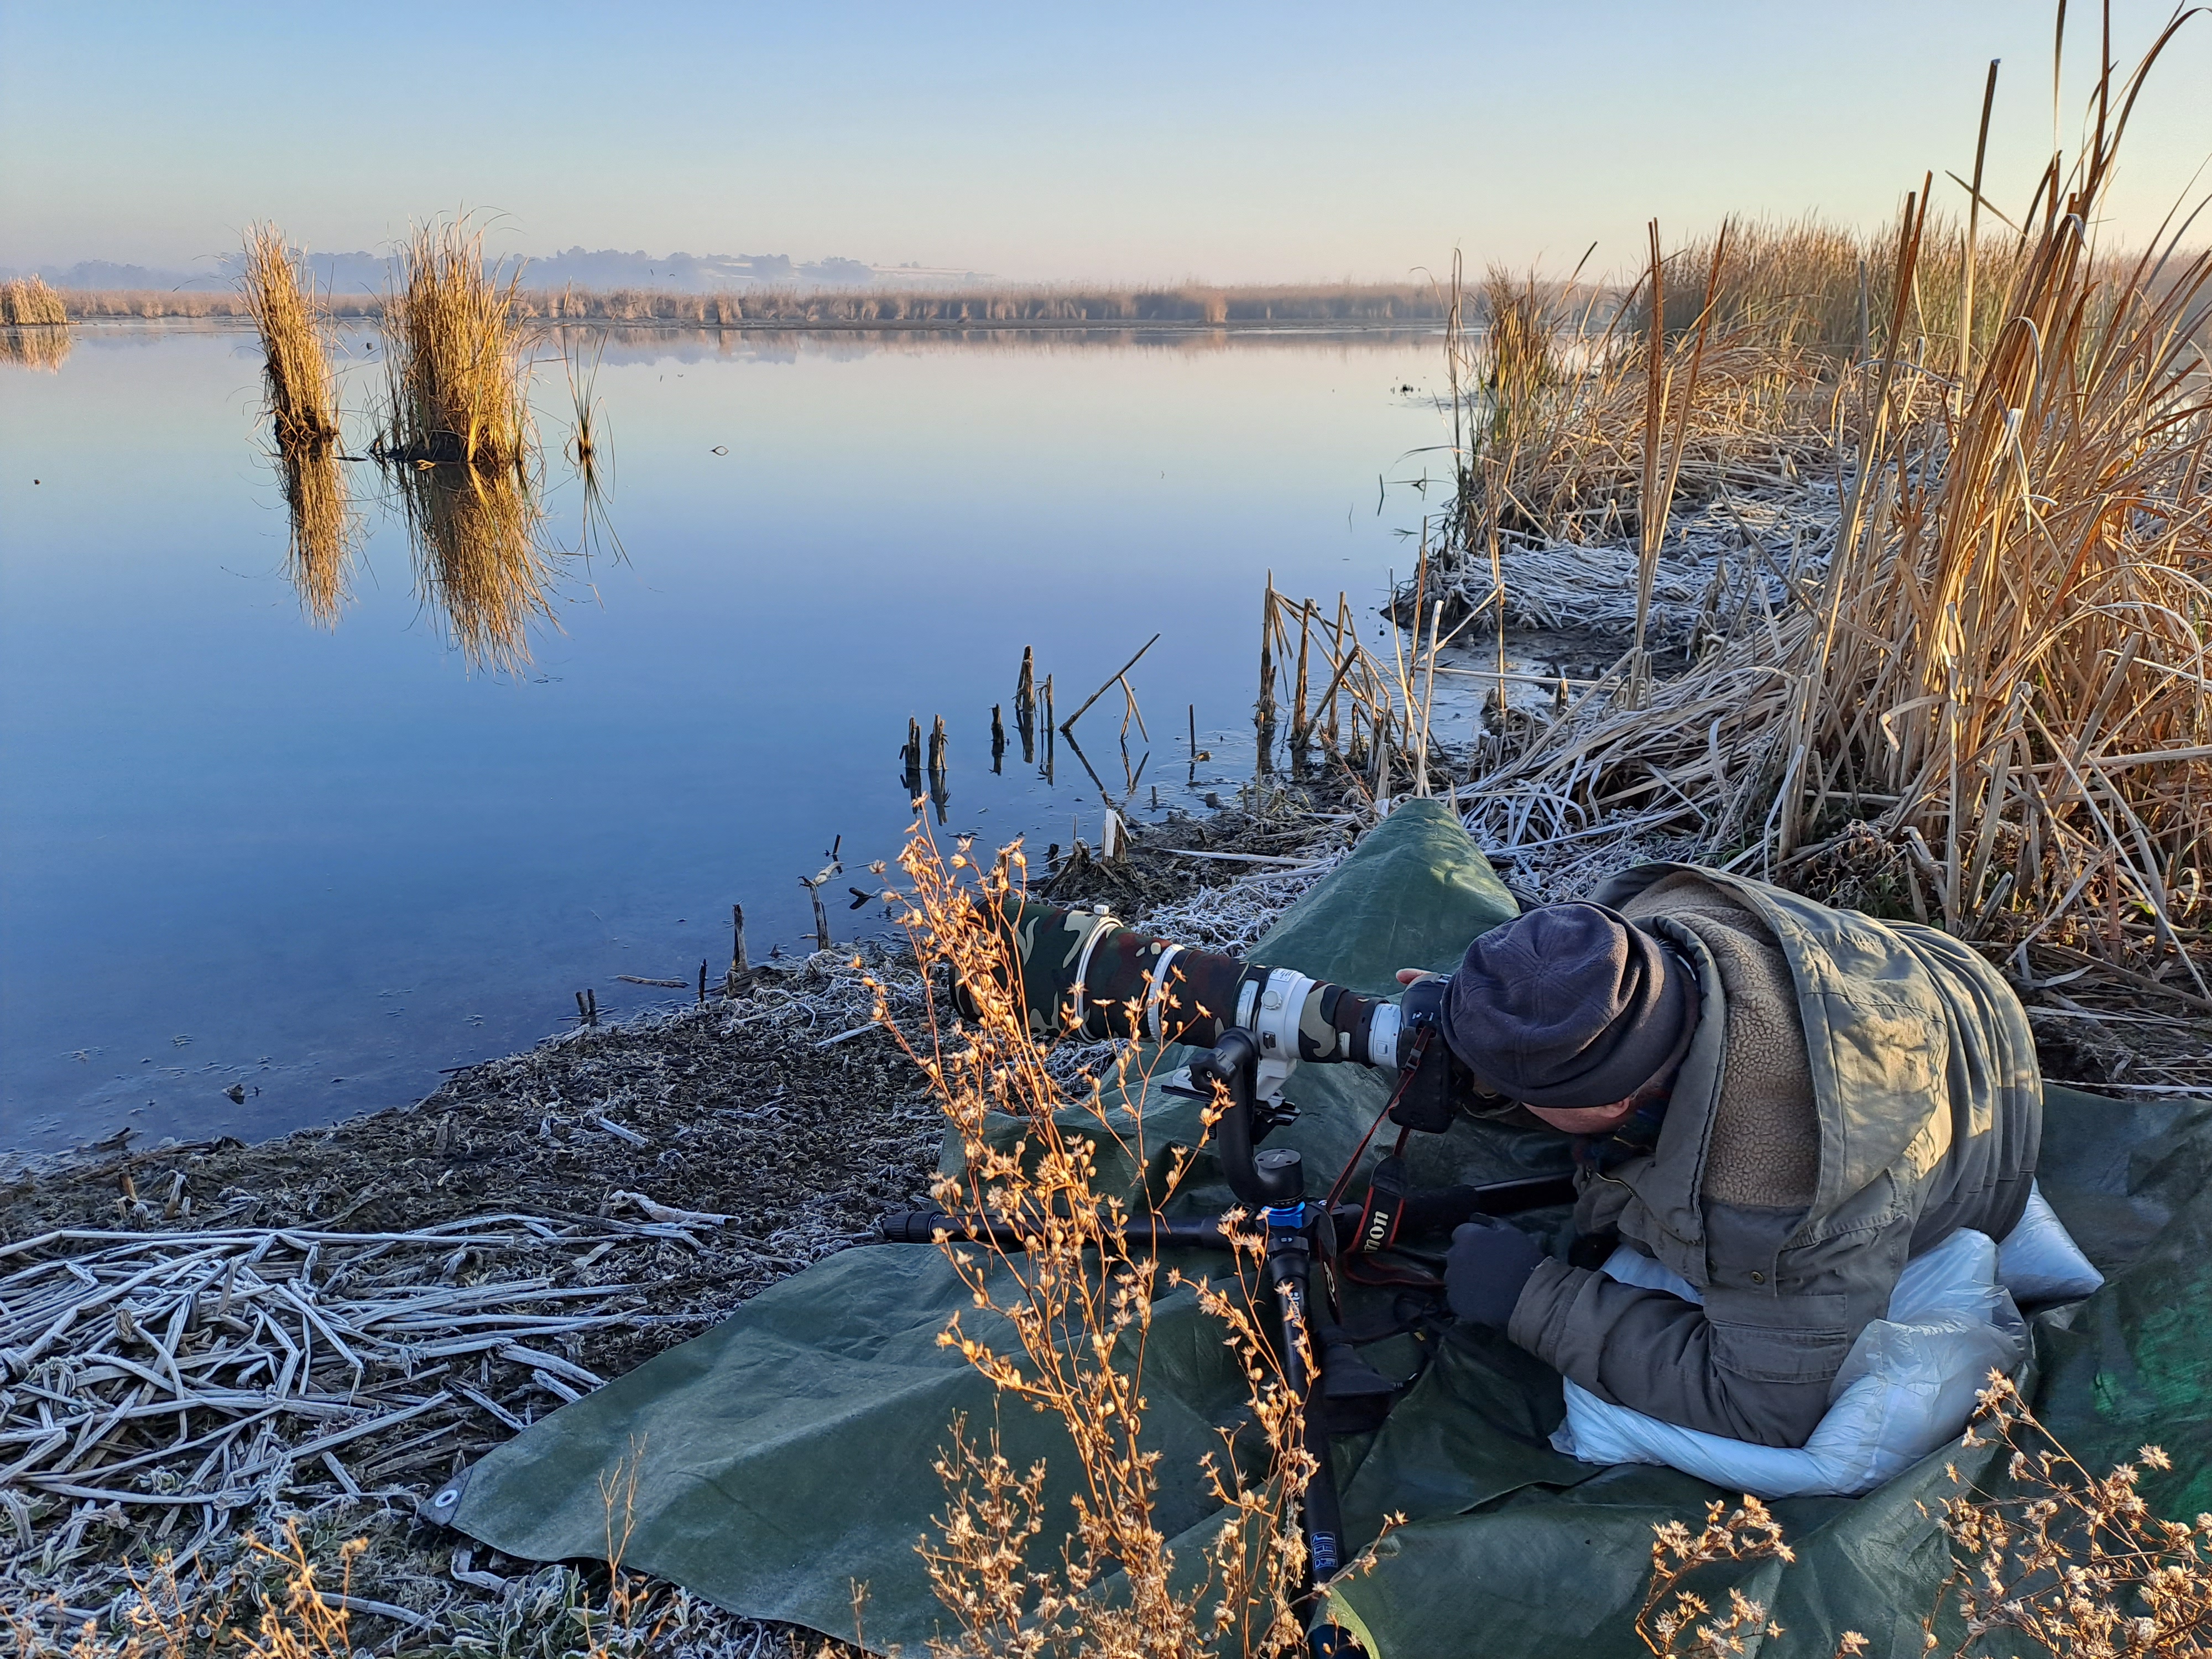
Here is me struggling to get down low enough (take note of the ice all around me).
As this was my first attempt, I knew that I was already half way there and was still very happy with the initial outcome. The next shoot however promises be a whole different ball game with some valuable lessons learned during this round.
HIGH SHOOTING ANGLES - NOT GOOD
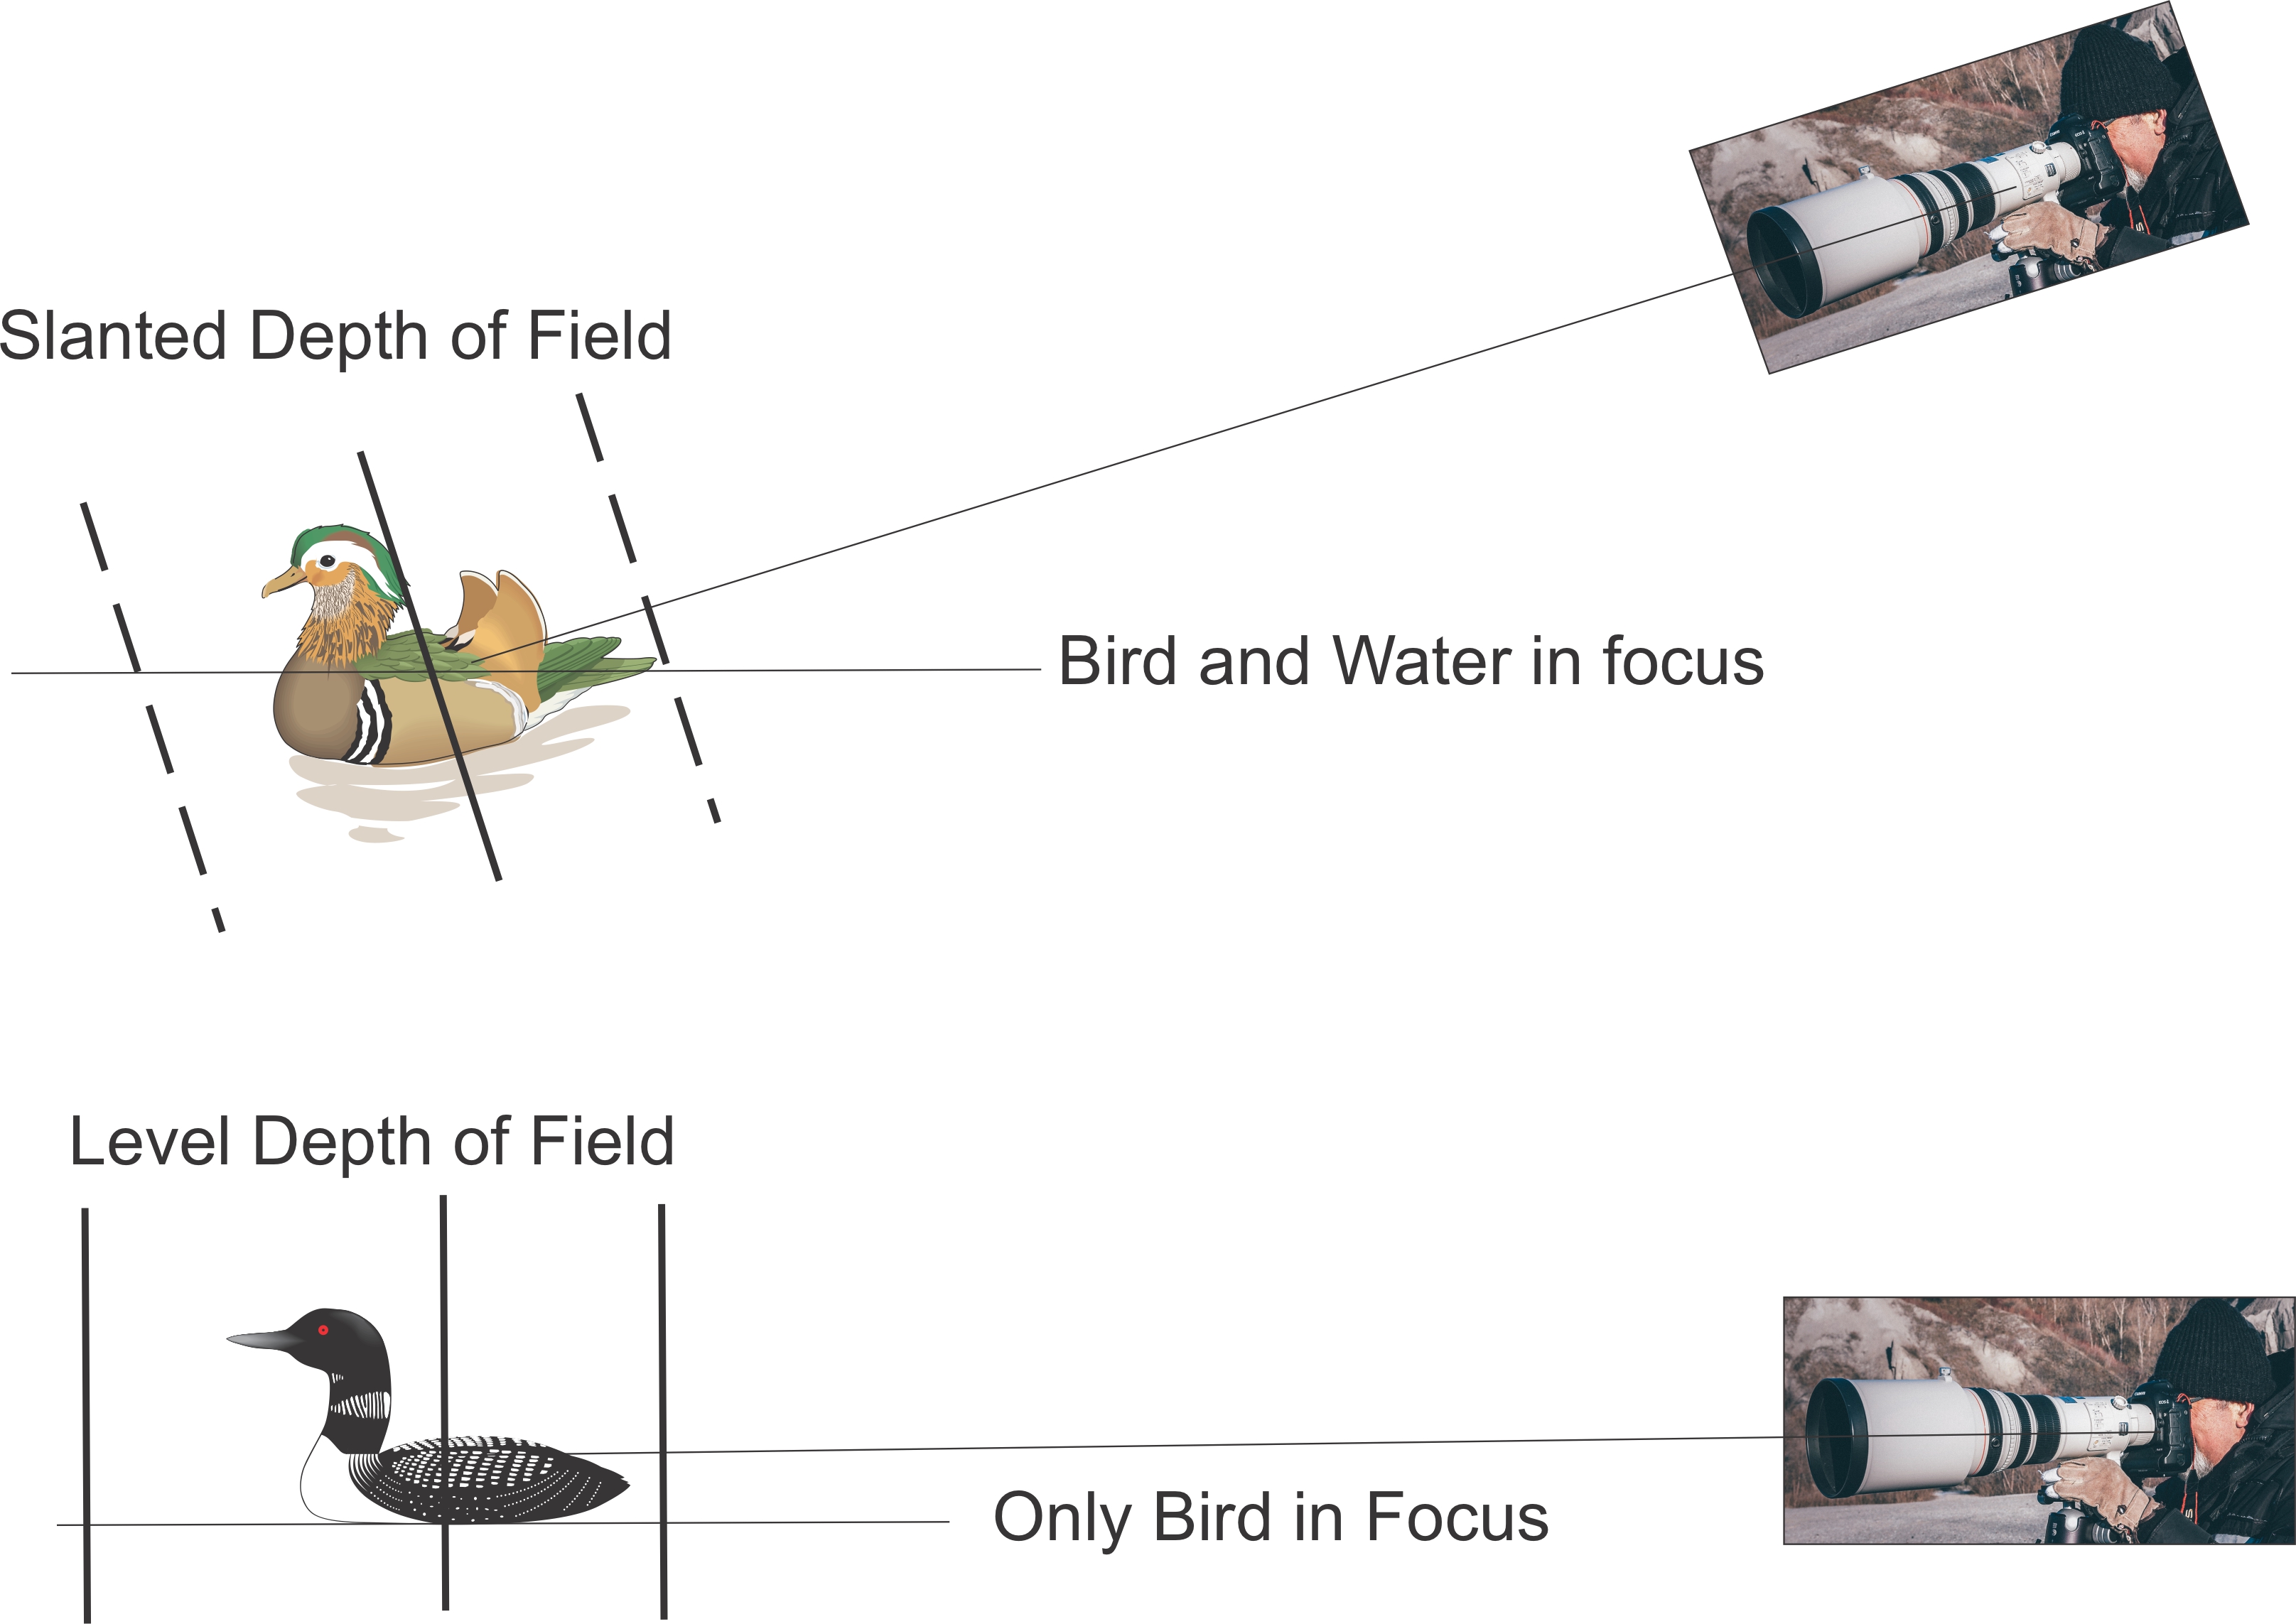
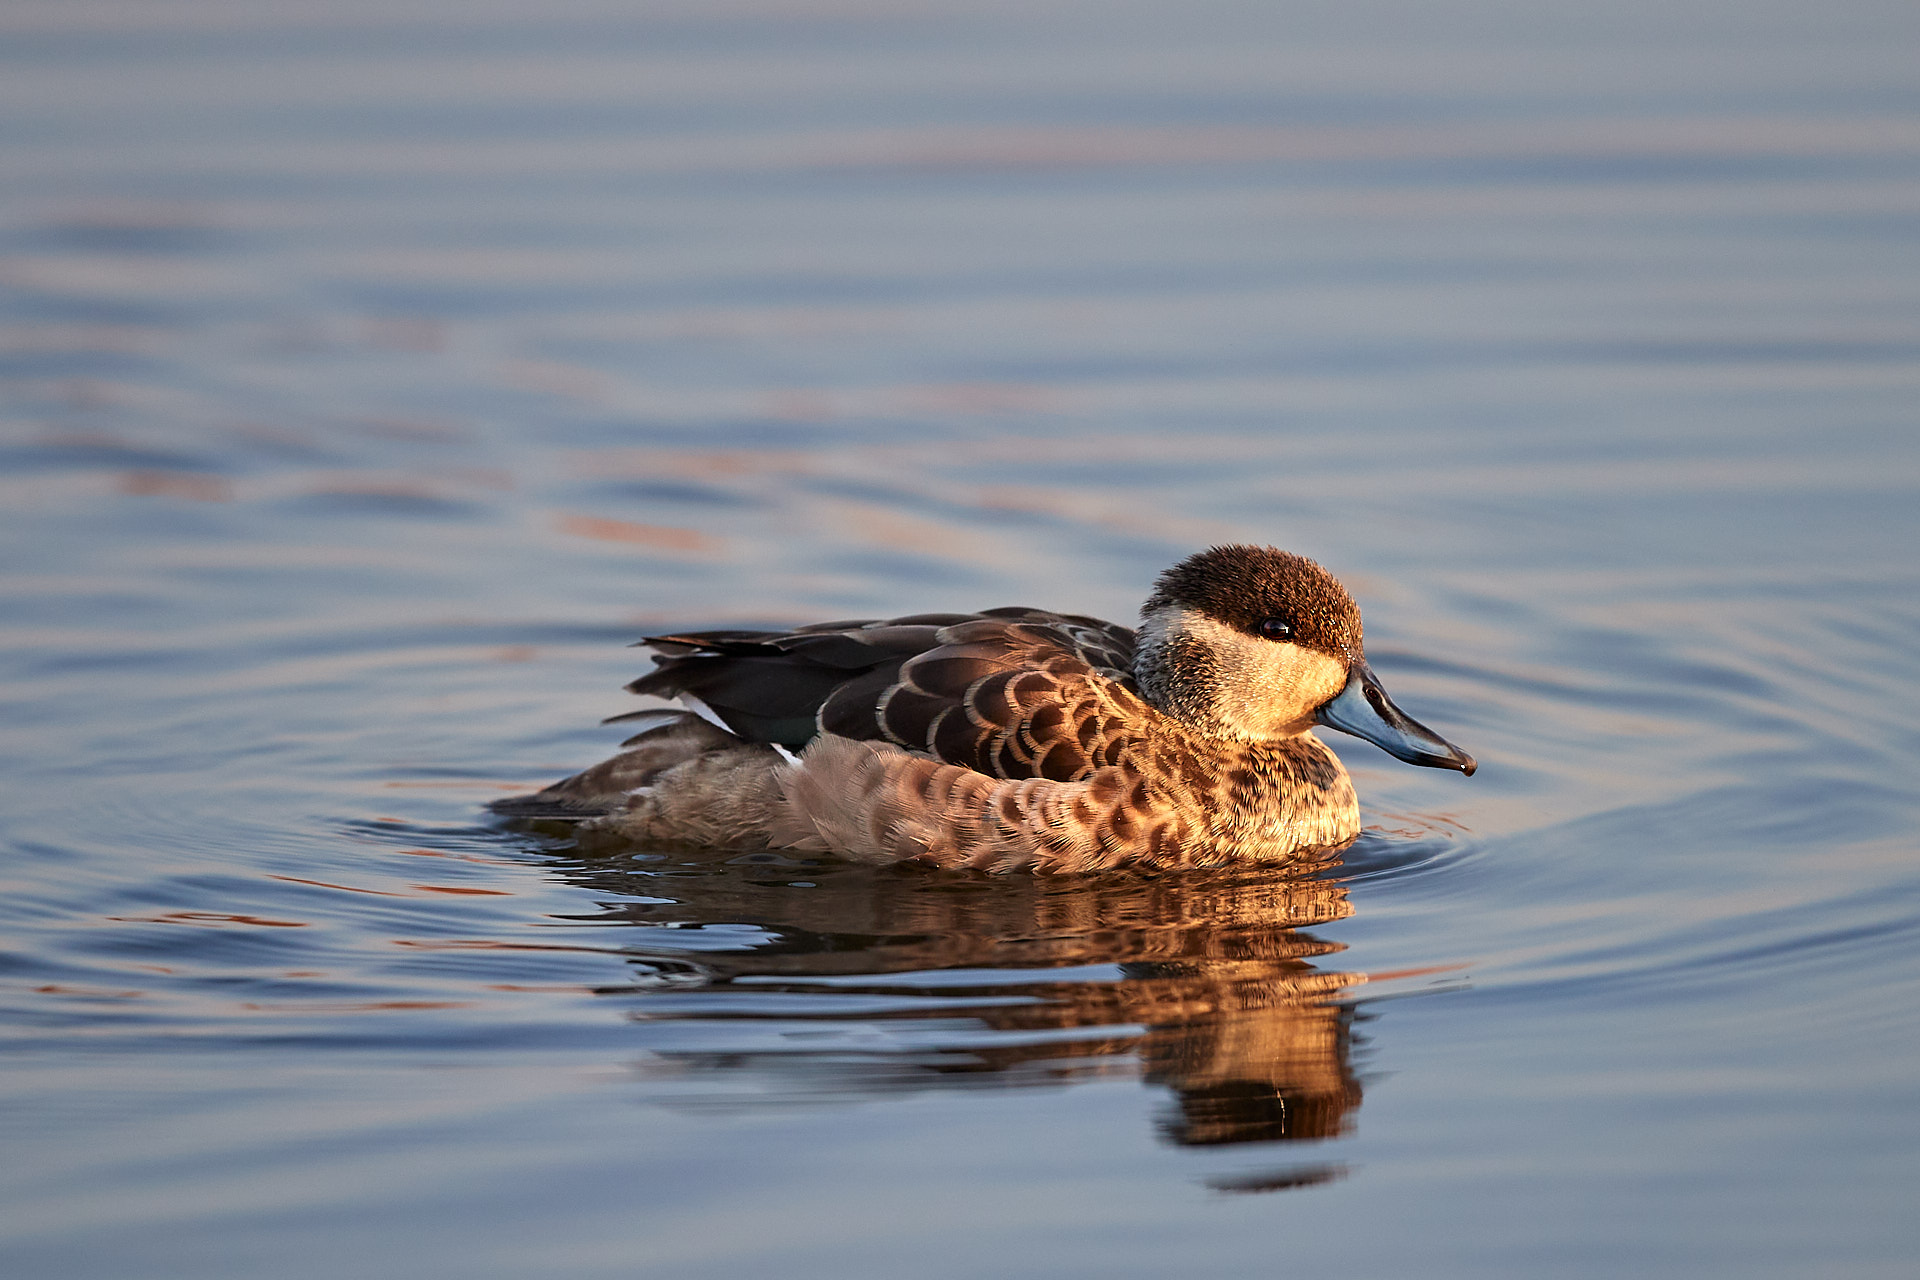
Up until now, all my photos of waterfowl have been taken either from a hide or on the banks of the water course. This creates a slanted depth of field as the camera is much higher than where the subject is located. One usually sets a depth of field (DOF) to bring the entire subject into focus, but from a slanted angle, this also puts all the water and waves around the subject in focus creating a distraction.
Of course there are occasions where one wants to see the water as there might be interesting ripples or some other background feature that is interesting, but this leaves no scope for getting a beautiful soft background and glass like water leaving the bird as the hero of the image.
THE RIGHT ANGLE
Getting down low for waterfowl has a huge advantage and can make a good image,into an exceptional image.
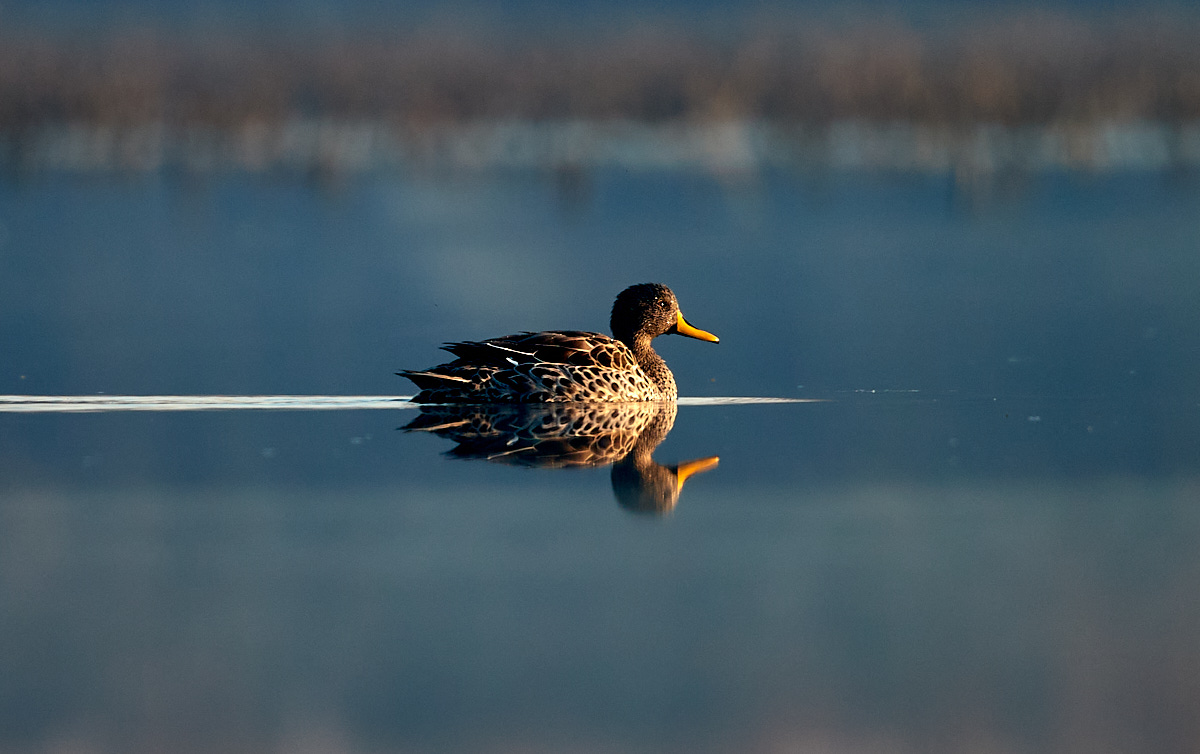
Taking the shot at a lower level means that only the subject (your bird) is perfectly in focus but the background and water is creamy soft with reflections of all the interesting colours of the environment. Without the water falling into the depth of field, it looks like silky smooth glass.
Using the early morning or late afternoon light (known as the golden hours) with the soft light reflecting from the reeds and opposite banks creates a wonderful effect.
Below is an illustration of how depth of field is affected by the shooting height of the camera.
To further illustrate the effect of depth of field angle, here is an image below that I took at Marievale some time ago from a hide with a slanted depth of field. (I was at least 1 meter higher than the water)
... and this image below is one that I took from a much lower angle on my recent outing (albeit still not as low as I would have liked but I think it will illustrate the point)
Watch this space for the next round of images where I have purchased gear to get me much lower to the water.
Click here to see my Marivale gallery for all the other images captured during this outing.

